
A well-made quality glass mirror is a tough thing to replace. Mirrors can add perceived space and aesthetic value to any room in your home and are highly useful for a number of health and cosmetic purposes. Of course, with factory-made or custom-cut mirrors, it makes sense to keep the ones you have in good condition for as long as possible. The mirrors in your home are constantly exposed to the elements and will inevitably become dirty over time. Especially if they’re being used in bathrooms, mirrors can be highly vulnerable to dust, grime, moisture and mineral deposits. These can become ‘caked’ on your mirror after a while, and cleaning can be more difficult the longer that you wait.
Thoroughly cleaning your mirrors before the stains become too pronounced can make the job much easier on you, and prevent permanent damage, but it’s also crucial to make sure that you go about doing it in the right way. Mirrors can be tricky to clean, and for homeowners with dirty ones, not following the proper technique can lead to streaking, ineffective spot removal, or damage. By taking the right steps, you can make sure your dirty mirror looks like new again by the time you are done. Let’s take a look at the right way to properly clean your mirrors:
Step 1: Use a Quality Cleaner
The best glass cleaners are an alcohol based product, and this is especially true for mirrors. We also recommend cleaners that foam or apply in a less liquid form to eliminate streaking. Ammonia should be avoided in all mirror cleaning applications. You can also make your own cleaner if desired. To make an effective cleaning solution out of household materials, mix one part white vinegar with four parts water. This mixture should be strong enough to cut through even the most caked on spots on your mirrors. Utilizing a spray bottle can help ensure even distribution of the solution.
Step 2: Pre-Treating the Problem Areas
Mineral deposits can accumulate in spots, and some parts of your mirror will almost always be dirtier than others. To thoroughly address the worst spots of your mirror, treat the deposits with rubbing/denatured alcohol before applying the glass cleaner solution. All you need to do is simply dip a clean and soft rag in the alcohol and then apply it to the worst spots on your mirror.
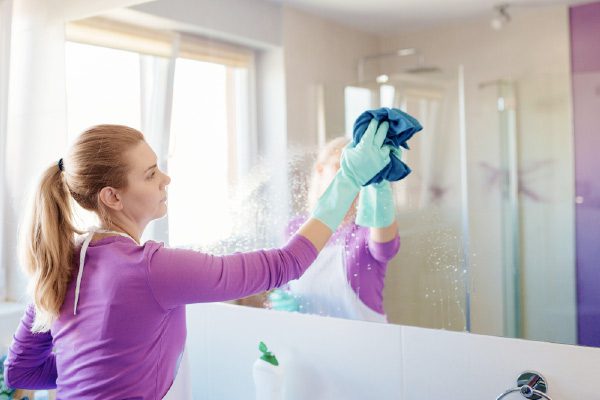
Step 3: Thorough Cleaning
This step is the bread and butter of cleaning the glass mirrors in your home. To prevent streaking, you should start by applying the cleaner evenly, the best way to do this is by starting at the top and working your way down (to avoid leaving drip marks). Be sure to wipe only areas with cleaning solution to avoid the possibility of scratching. Use a side-to-side motion for the middle of your mirror and a smaller tool like a cotton swab to get into any tight corners or embellishments that may need cleaning. Always use a very smooth and soft towel, without crevices or rough surface, and microfiber is highly recommended.
Step 4: Post Cleaning Inspection
Before you start putting your materials away, it’s a good idea to thoroughly check the effectiveness of the cleaning job. This can be done by carefully examining your mirror in the light at a different angle than usual. Sunlight and natural light can illuminate areas you missed. Any left-behind streaks or spots can be cleaned with a conservative amount of cleaner on a dry soft rag.
Just remember – Cleaning your glass mirror the right way will help keep it looking good for years to come! Contact Alderfer Glass to learn more about glass and mirror cleaning in Telford and the surrounding areas.